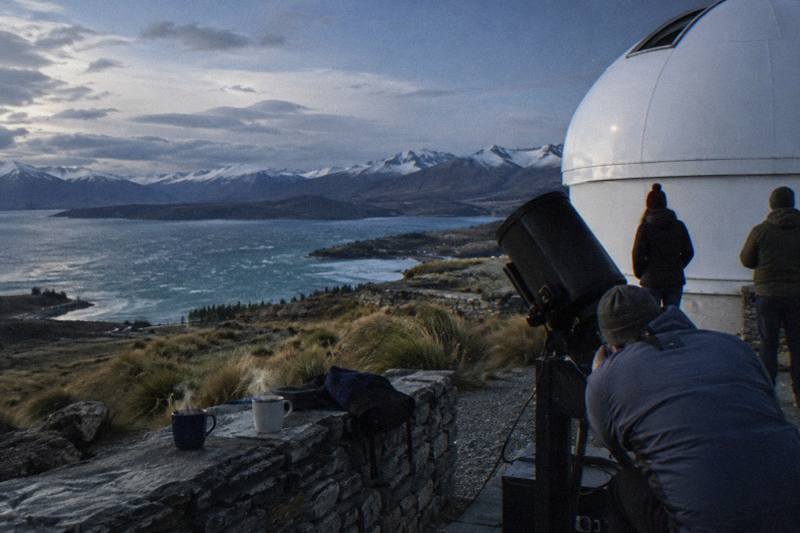
Camera Settings For Tekapo Stargazing Nights: Phone And DSLR Basics
Tekapo sits inside the Aoraki Mackenzie International Dark Sky Reserve, the largest dark sky reserve in the Southern Hemisphere, and that darkness rewards even a modest camera if the settings are thought through before the night begins.
Short answer
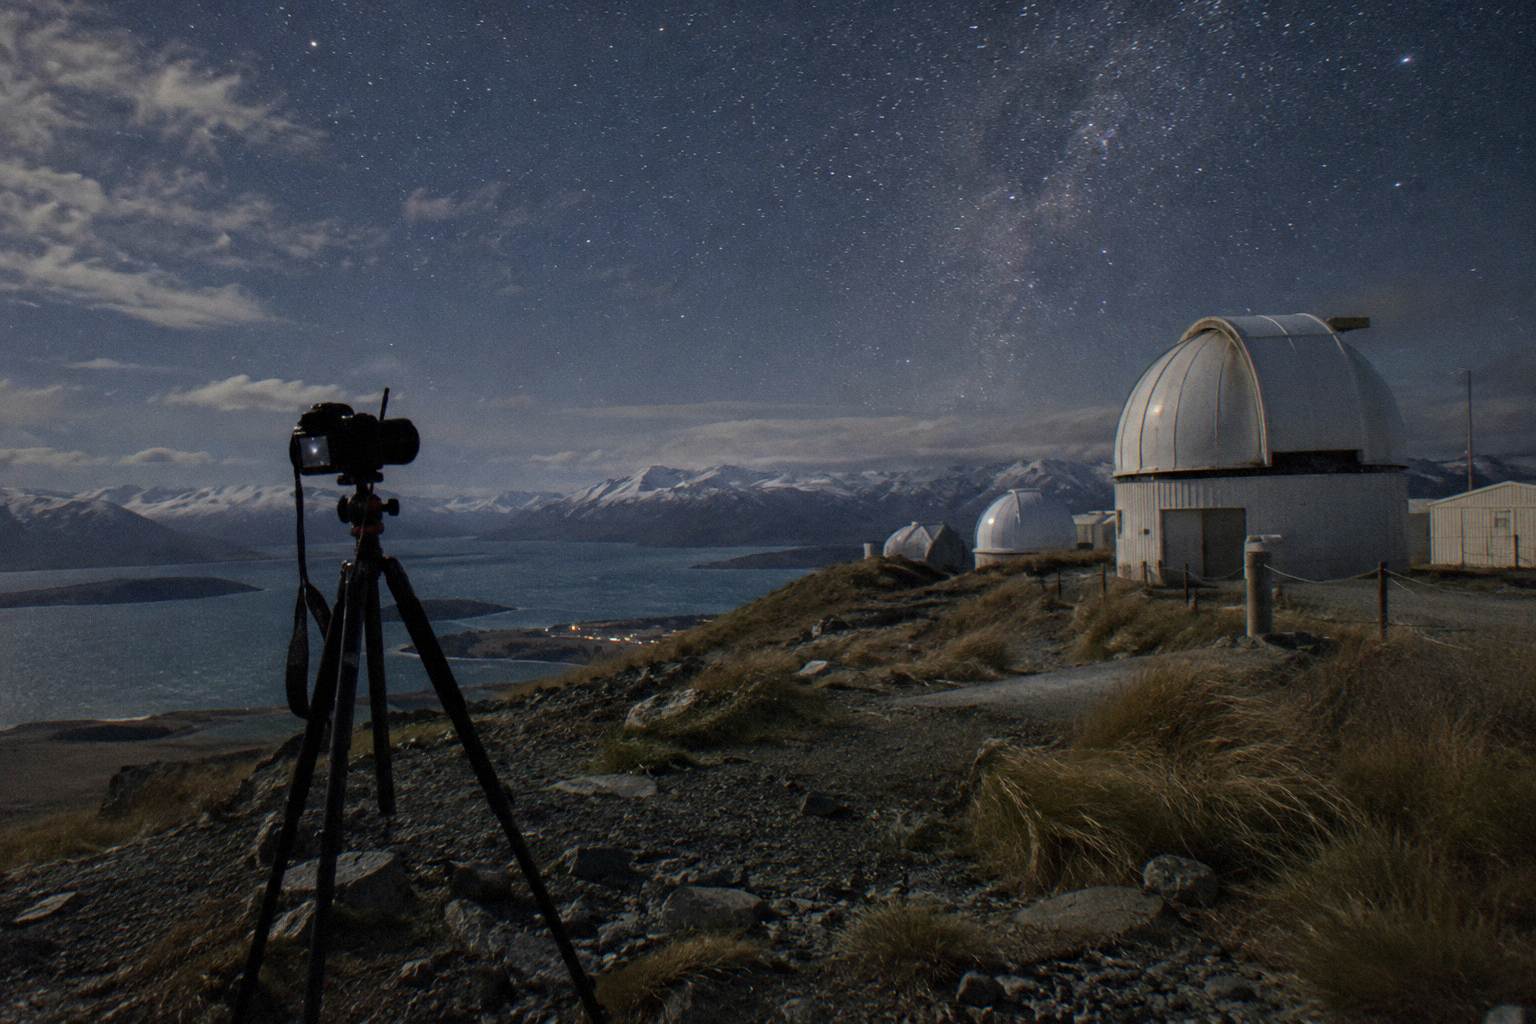
There is no single correct setting for the Tekapo night sky: the right approach is manual or pro mode, the widest aperture the lens allows, a shutter speed short enough to stop the stars trailing, ISO raised until the exposure works, a tripod, and no flash. Moonlight, cloud and the tour you join all change the plan.
For context on the reserve itself and why the sky here is treated as a resource, see the site's Aoraki Mackenzie dark sky reserve guide. If you are weighing whether a camera is even welcome on a tour, the blog post on whether you can take photos on a Tekapo stargazing tour covers the same question from the policy side, and this page covers the settings side.
| Quick fact | Detail |
|---|---|
| Reserve | Aoraki Mackenzie International Dark Sky Reserve, status awarded April 2012 |
| Reserve extent | Aoraki/Mt Cook National Park and the Mackenzie Basin |
| Mt John elevation | 1,029 m |
| Astro Cafe and access road hours | 9am to 4pm daily |
| Dark Sky Project weather promise | Clarity and objects cannot be guaranteed |
| Tekapo Springs cloud policy | Tours run in all weather, VR replaces telescope viewing under cloud |
What Settings Work For Night Sky Photos In Tekapo?
The core recipe is the same everywhere and Tekapo's darkness only makes it easier to hit: manual control, a stable support, the widest aperture the lens offers, a shutter speed short enough to freeze the stars as points, and ISO raised until the exposure looks right on the screen. Beyond that base, everything is a trade between star sharpness and noise. A wider aperture or a higher ISO lets you shorten the shutter, and a shorter shutter is what keeps stars from smearing into short trails at moderate focal lengths. Decide which failure you can tolerate, noise or trailing, and set the camera so the other one stays controlled.
Start by understanding why the normal daytime instinct fails. In daylight the camera has light to spare, so it can keep sensitivity low and the shutter fast. At night under the reserve's sky the camera is starved, and the automatic modes respond by dropping the shutter speed to lengths where the Earth's rotation becomes visible, by opening the flash, or by refusing to focus at all. Every one of those responses ruins a night sky frame, and every one is bypassed the moment you take manual control.
The second principle is stability. Handheld night photography of stars does not work at any setting, because the shutter has to stay open long enough that hand shake dominates the frame. A tripod is the single most important piece of equipment, ahead of the camera body. If you travel light, any rigid support works: a wall, a vehicle roof with the engine off, a jacket rolled on a rock. What matters is that the camera does not move between the press of the button and the close of the shutter, and that you trigger it with a timer or a remote so the press itself does not shake it.
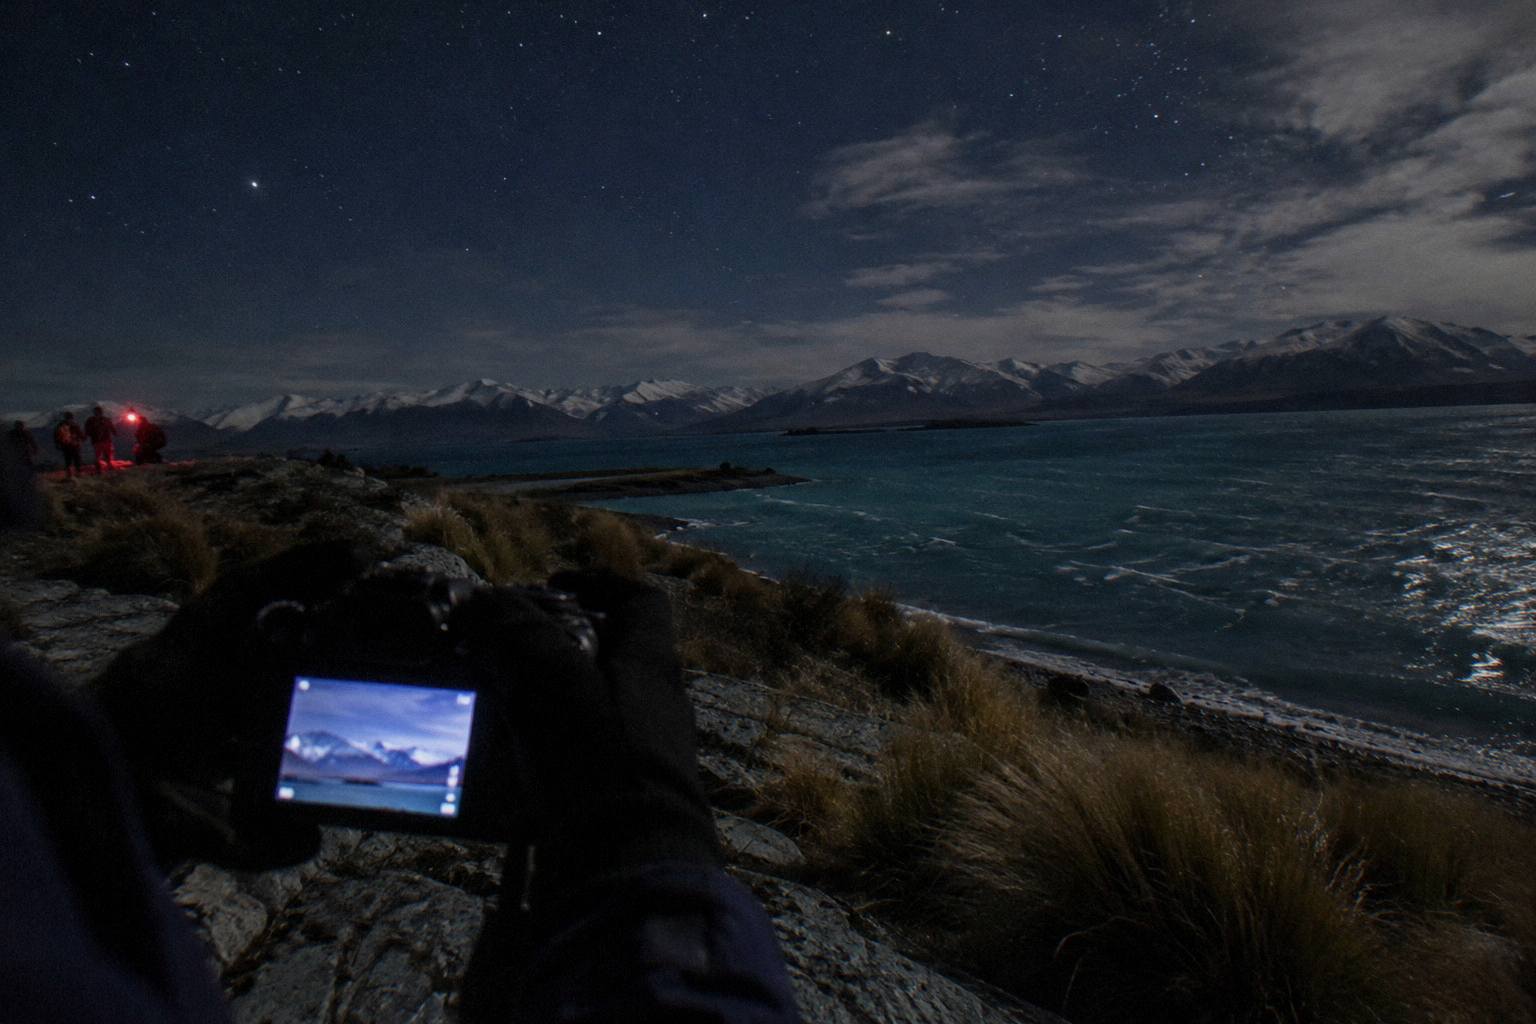
The third principle is focus. Autofocus systems hunt and fail on a field of point sources, so switch to manual focus and set the lens to just short of its infinity mark, then check the first frame zoomed in and refine. On a phone, tapping on a bright star and dragging the exposure down slightly often locks both focus and metering enough to work with. Focus is the setting people get wrong most quietly, because a slightly soft frame still looks fine on the camera screen and only falls apart when viewed full size later.
The moon changes the arithmetic, and Dark Sky Project says so directly on the operator's weather page: brighter moonlight affects fainter stars and galaxies, though the operator also notes the moon is a good target in its own right. Tekapo Stargazing puts the same point another way, saying telescopes still show bright objects and a full moon only reduces the naked eye view of the Milky Way. For settings, that means a bright moon lets you drop ISO and enjoy cleaner frames of the lunar surface and the brighter constellations, while a moonless night is when you raise sensitivity for the faint band of the galaxy. The site's guide to new moon or full moon for Tekapo stargazing works through that choice in full.
Phone Camera Settings For The Tekapo Night Sky
On a phone, the plan is pro or manual mode, the widest available focal length, exposure length as long as the night mode allows, ISO raised with restraint, focus locked manually on a bright star, flash off, and the phone braced or clamped so it cannot move. Modern phones carry computational night modes that stack many short exposures, and in genuinely dark sky like the reserve those modes produce usable constellation frames with no settings at all. The manual route gives more control and more consistency, but the automatic route is not to be dismissed. Both beat a handheld snapshot by a wide margin.
The first setting to find is the exposure length. In manual modes this is often labelled shutter speed or exposure time, and in dedicated astrophotography modes it may extend to tens of seconds. The practical ceiling is set by the phone's fixed lens being wide: a wide field of view tolerates a longer exposure before trails appear, which is a genuine advantage over a zoomed DSLR lens. If the phone offers an astrophotography or long exposure mode inside its native camera app, that mode handles the stacking and the alignment itself, and it is the safest starting point on a cold night when fiddling with sliders is unappealing.
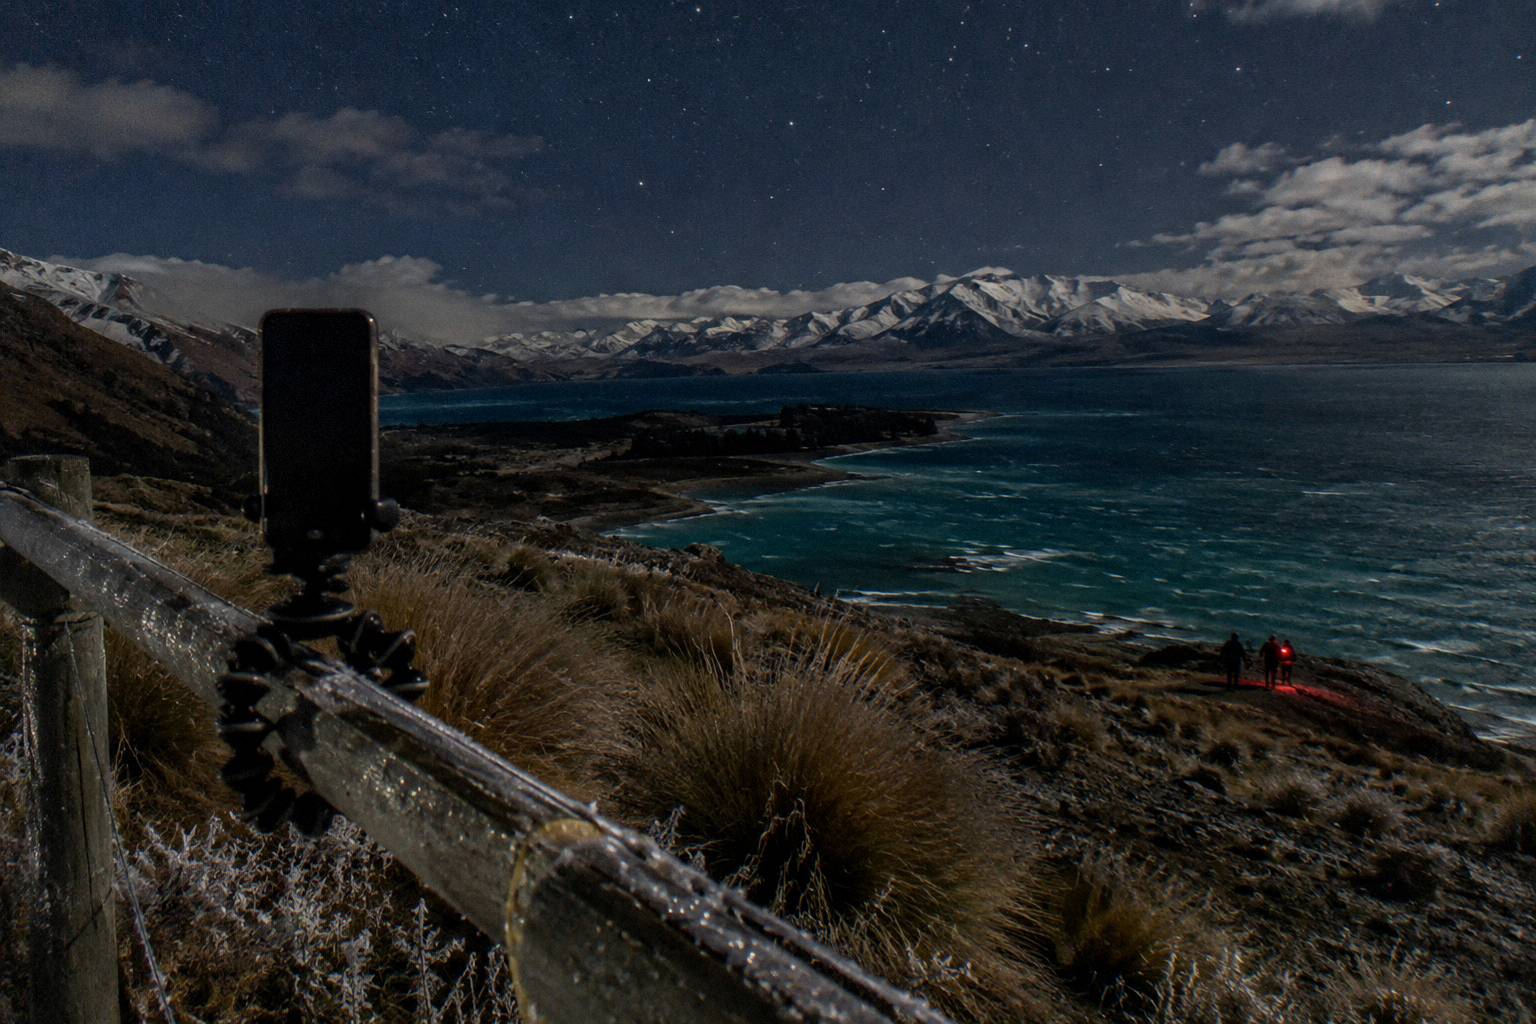
ISO on a phone is a blunt tool. Small sensors gather noise quickly, so push sensitivity only as far as the frame needs and no further, and prefer a longer exposure or the night mode's stacking to brute force. White matter less than you would think, since frames can be corrected afterwards, but a cooler setting keeps night skies from drifting orange when there is stray village light in the frame. Turn the screen brightness down too, both to preserve your night vision and to stop the glow disturbing anyone standing nearby on a tour.
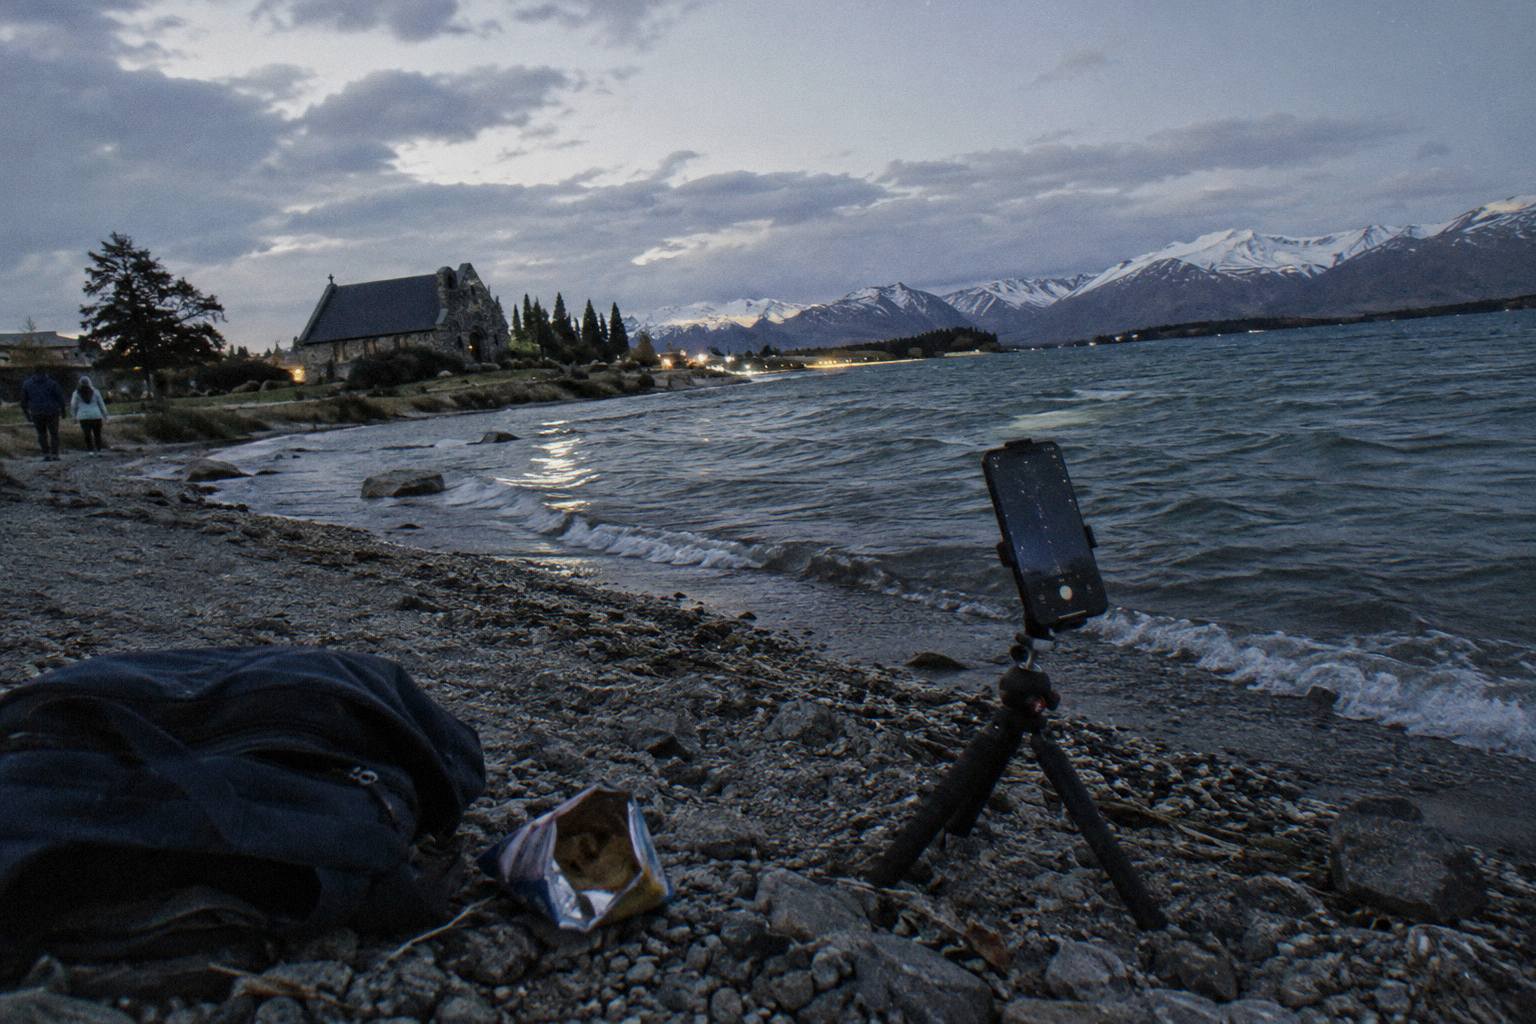
Stability deserves more attention on a phone than on a big camera, because the light body picks up every vibration. A small clamp tripod, a flexible gripper wrapped around a fence rail, or the flat of a vehicle roof all work. Use the volume button or a timer so touching the screen is not the last thing that happens before the shutter opens. In cold conditions the battery drains fast, so keep a power bank in a pocket and the phone warm until the moment you need it.
Phone choice matters less than patience. A few frames taken carefully, checked zoomed in, and repeated with one setting changed will teach you more in twenty minutes than any list of numbers, and the reserve's sky is forgiving in a way a city's never is: there is simply more signal for any sensor to work with. If the results still disappoint, the step up is not a new phone but a camera with a larger sensor and a lens that opens wider, which is the subject of the next section.
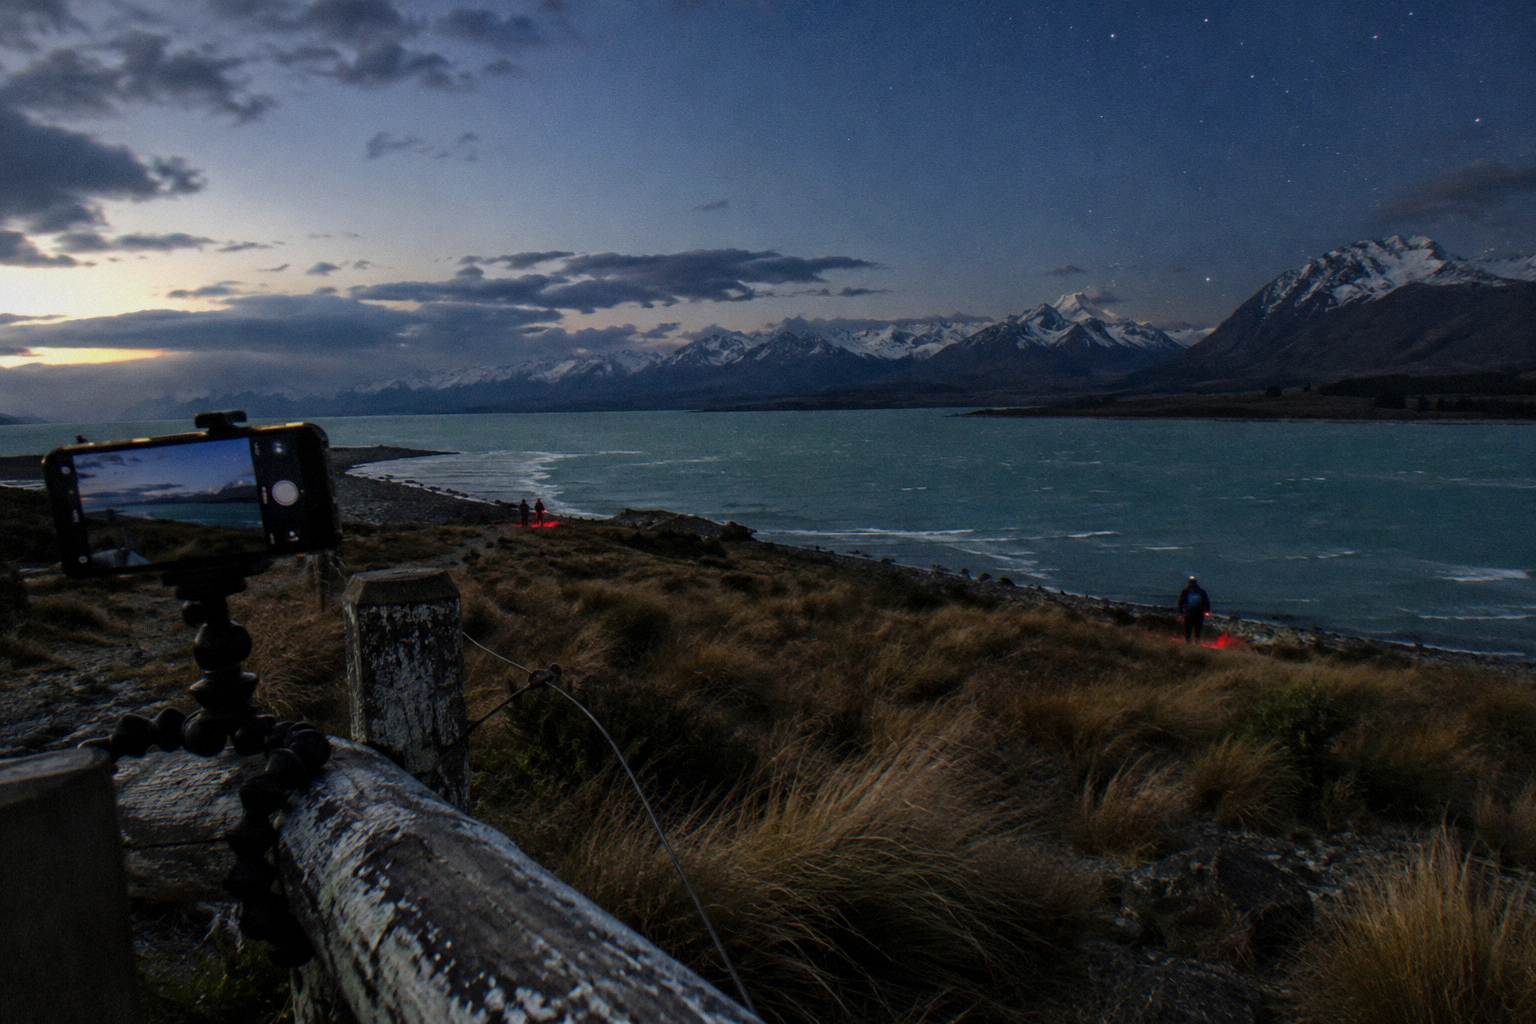
For many visitors the phone is also the camera of a tour night, where time and space are shared. That context argues for the simplest workable setup, a preset saved before departure, so the moments when the guide pauses at an eyepiece or points a laser at a constellation can be captured in one or two quick frames rather than a settings hunt in the dark.
DSLR And Mirrorless Starter Settings
On an interchangeable lens camera, work fully manual: widest aperture, shutter speed set by the focal length so stars stay round, ISO raised until the histogram shows real data, manual focus just short of infinity, RAW files, and a rigid tripod with a delayed or remote trigger. The reasoning behind each of those choices is short, and once it clicks the camera stops being mysterious on any dark night, not just in Tekapo. The lens matters more than the body: a modest camera behind a wide, fast lens will outperform a flagship behind a slow zoom.
Aperture is set first because it is the one value you cannot improve in editing. Open the lens to its maximum, the smallest f number it offers. Starlight is faint enough that every stop of light gathered at capture time is worth more than any later correction. If the lens renders soft wide open, stop down one third or half a stop, but no more than that; sharpness gained by closing the aperture costs stars lost to underexposure, and the trade is rarely worth continuing.
Shutter speed is set by the lens's field of view. The longer the focal length, the more the sky's apparent rotation shows in a given exposure, so a wide lens tolerates long exposures and a telephoto needs short ones. Judge it empirically: take a test frame, zoom in on a corner, and if the stars are streaks rather than points, halve the exposure and raise ISO to compensate. Many cameras offer an interval timer, which is also the tool for star trail photography, where you deliberately let the rotation draw arcs and stack the frames afterwards, the reverse of the point source goal.
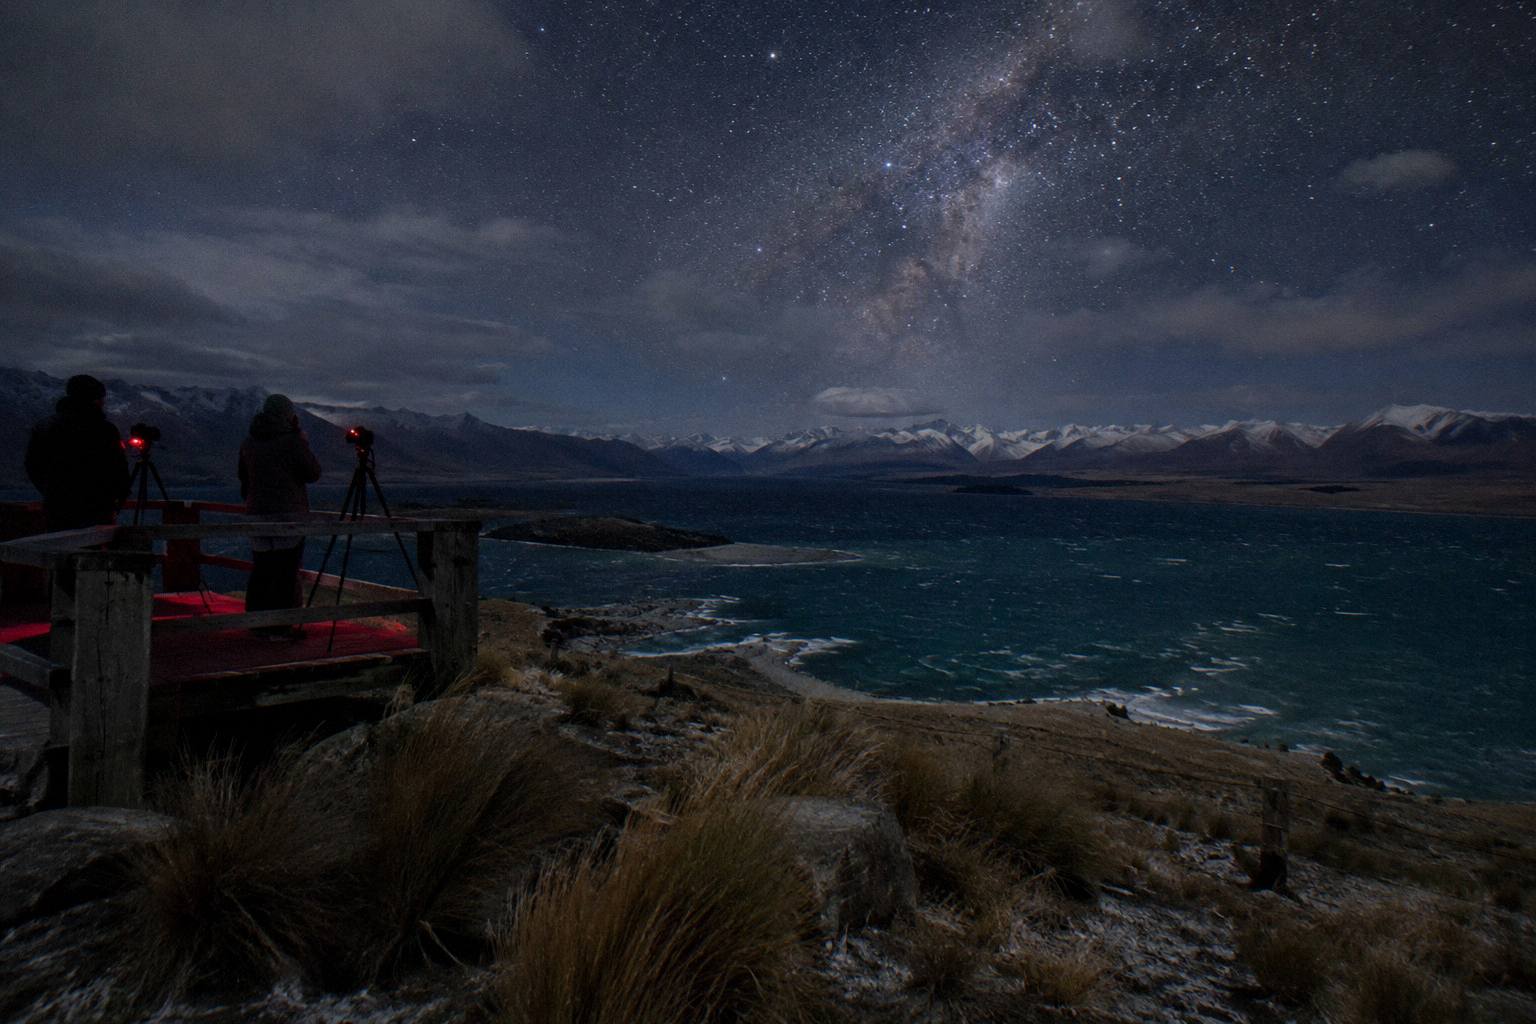
ISO is the fill. Raise it until the frame is bright enough to show the sky's fainter structure, then stop before the noise overwhelms it, and remember that a slightly noisy RAW file cleans up far better than an underexposed one. Shoot RAW rather than JPEG, because night files carry most of their recoverable detail in the shadows and the extra bit depth is exactly what post processing needs to pull the Milky Way's band out of what looks on screen like a nearly black frame. Turn off long exposure noise reduction if you are shooting sequences, since it doubles the time between frames by taking a dark frame after each shot.
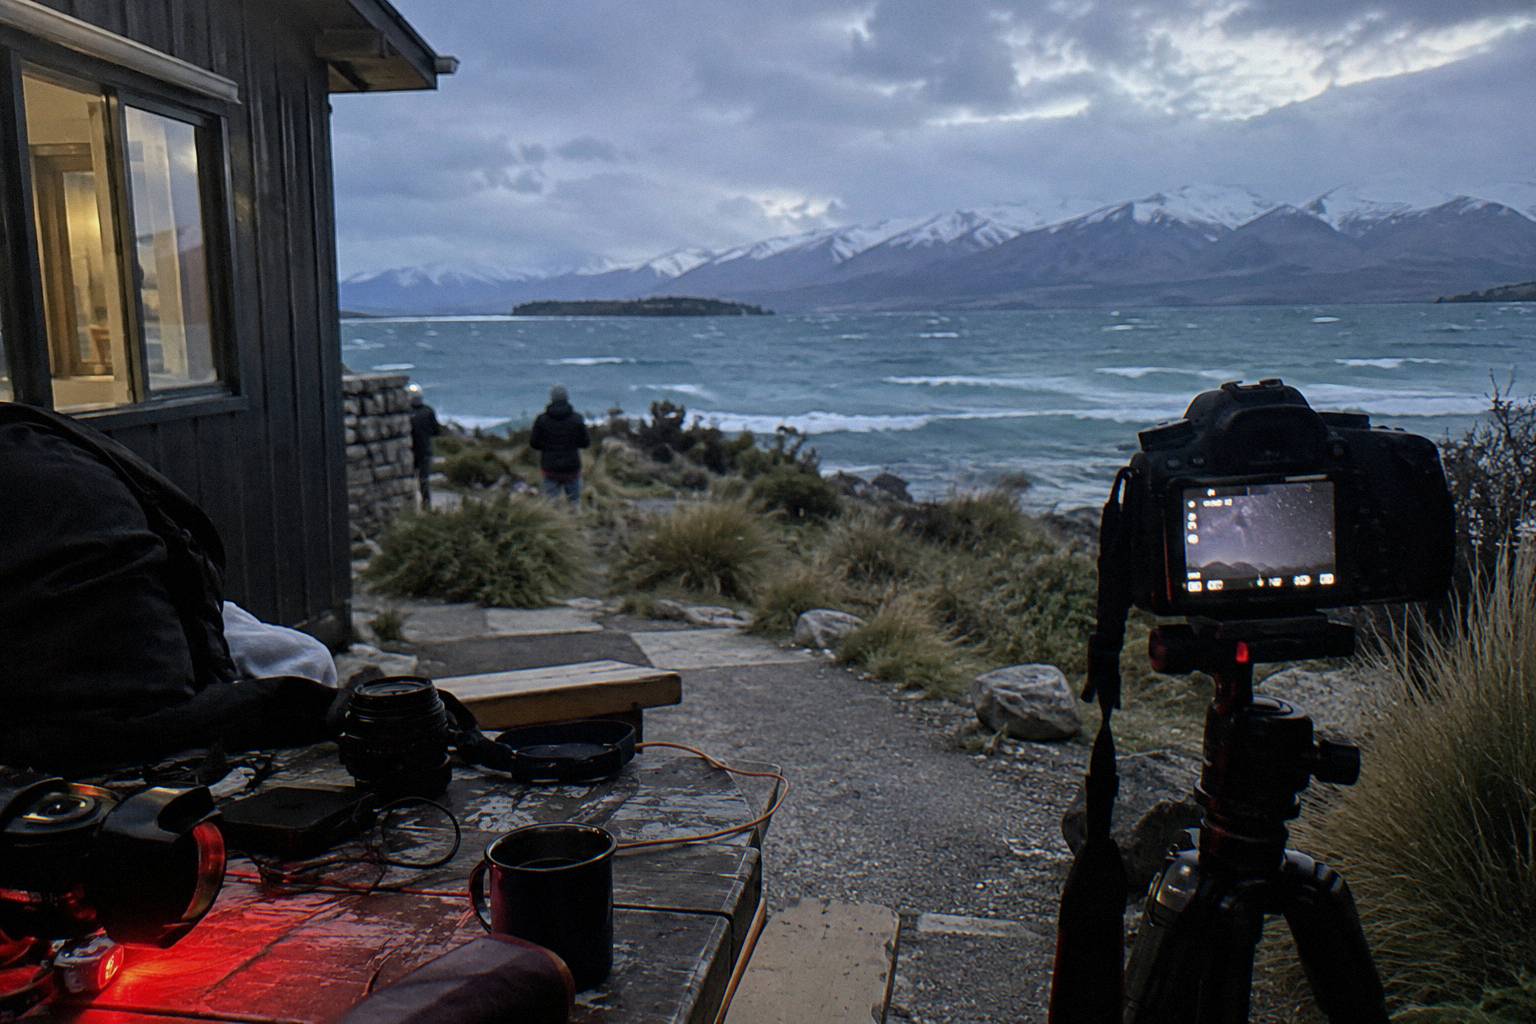
The lens choice itself is worth a moment. A wide prime in the range many travellers already own covers constellations, the Milky Way's band, and landscape silhouettes such as the hills around the lake or the line of the shoreline. A telephoto is for the moon and for tight compositions of individual constellations, and it demands much shorter shutter speeds and a sturdier tripod. Zoom lenses with variable maximum aperture give their widest opening only at the short end, which is one more argument for working wide.
| Setting | Phone approach | DSLR or mirrorless approach |
|---|---|---|
| Mode | Pro, manual or built in night mode | Full manual, RAW files |
| Aperture | Fixed, not adjustable | Widest available, smallest f number |
| Shutter | Longest the night mode allows | Set by focal length, test frame to confirm |
| ISO | Raised with restraint | Raised until the histogram shows data |
| Focus | Tap a bright star, lock manual | Manual, just short of infinity, refine zoomed in |
| Stability | Clamp tripod, timer | Rigid tripod, remote or delayed trigger |
| Flash | Off | Off |
What The Tekapo Tours Allow You To Bring
Whether cameras are welcome, in what form, and whether tripods are permitted on a guided stargazing tour is not stated on any of the operators' pages for the Tekapo tours covered here, so the answer has to come from asking before you book. The practical step is a direct question to the operator, and the contact details are published: Dark Sky Project on +64 3 680 6960 or info@darkskyproject.co.nz, and Tekapo Springs on +64 3 680 6550 or bookings@tekapostargazing.co.nz. Asking before the night avoids arriving with a tripod bag that has to stay in the vehicle.
The reason the question matters is that a guided night is a shared space. Telescopes, guide lasers and a group of people moving in the dark impose limits that a solo roadside shoot does not, and those limits differ between a summit observatory visit, a lakeside lawn session and a hot pool evening. A phone works within almost any constraint; a tripod and a bag of glass may not. The tour structure itself, transport included on some options, also shapes what you can carry comfortably.
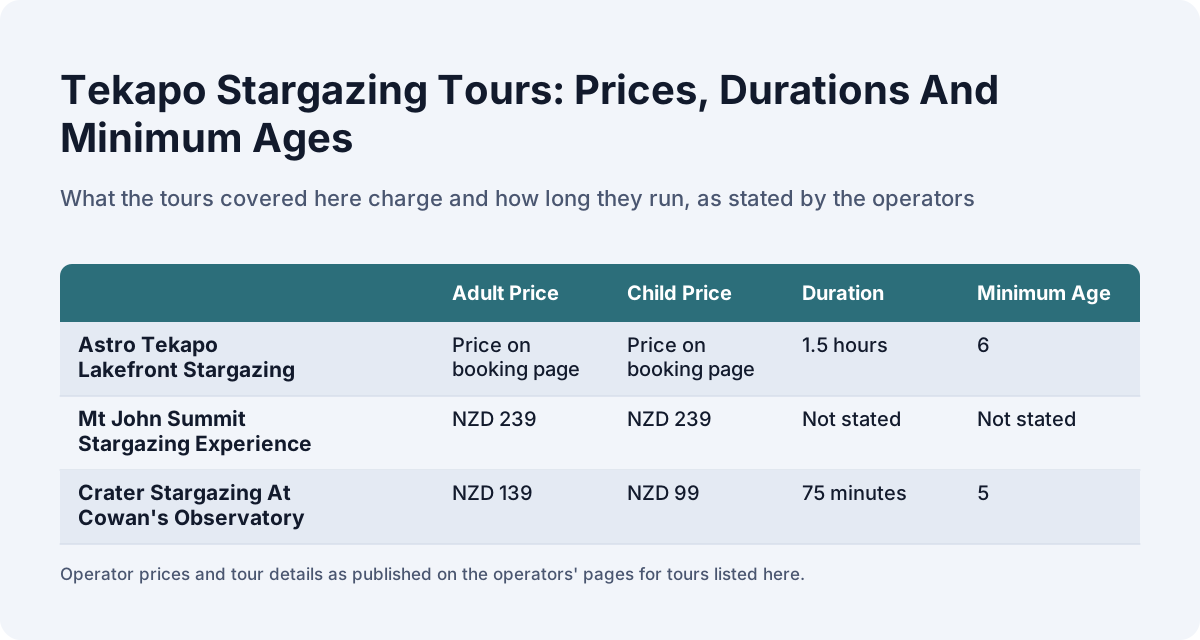
Among the options, the tours differ in setting and format in ways a photographer will care about. The Astro Tekapo Lakefront Stargazing tour runs 1.5 hours from the lakefront at Takapō Regional Park, minimum age 6, with its price on the booking page; its setting on the lakeshore rather than a summit observatory is the detail most relevant to someone planning camera work, and more on the Astro Tekapo lakefront stargazing tour is on its tour page. Check availability
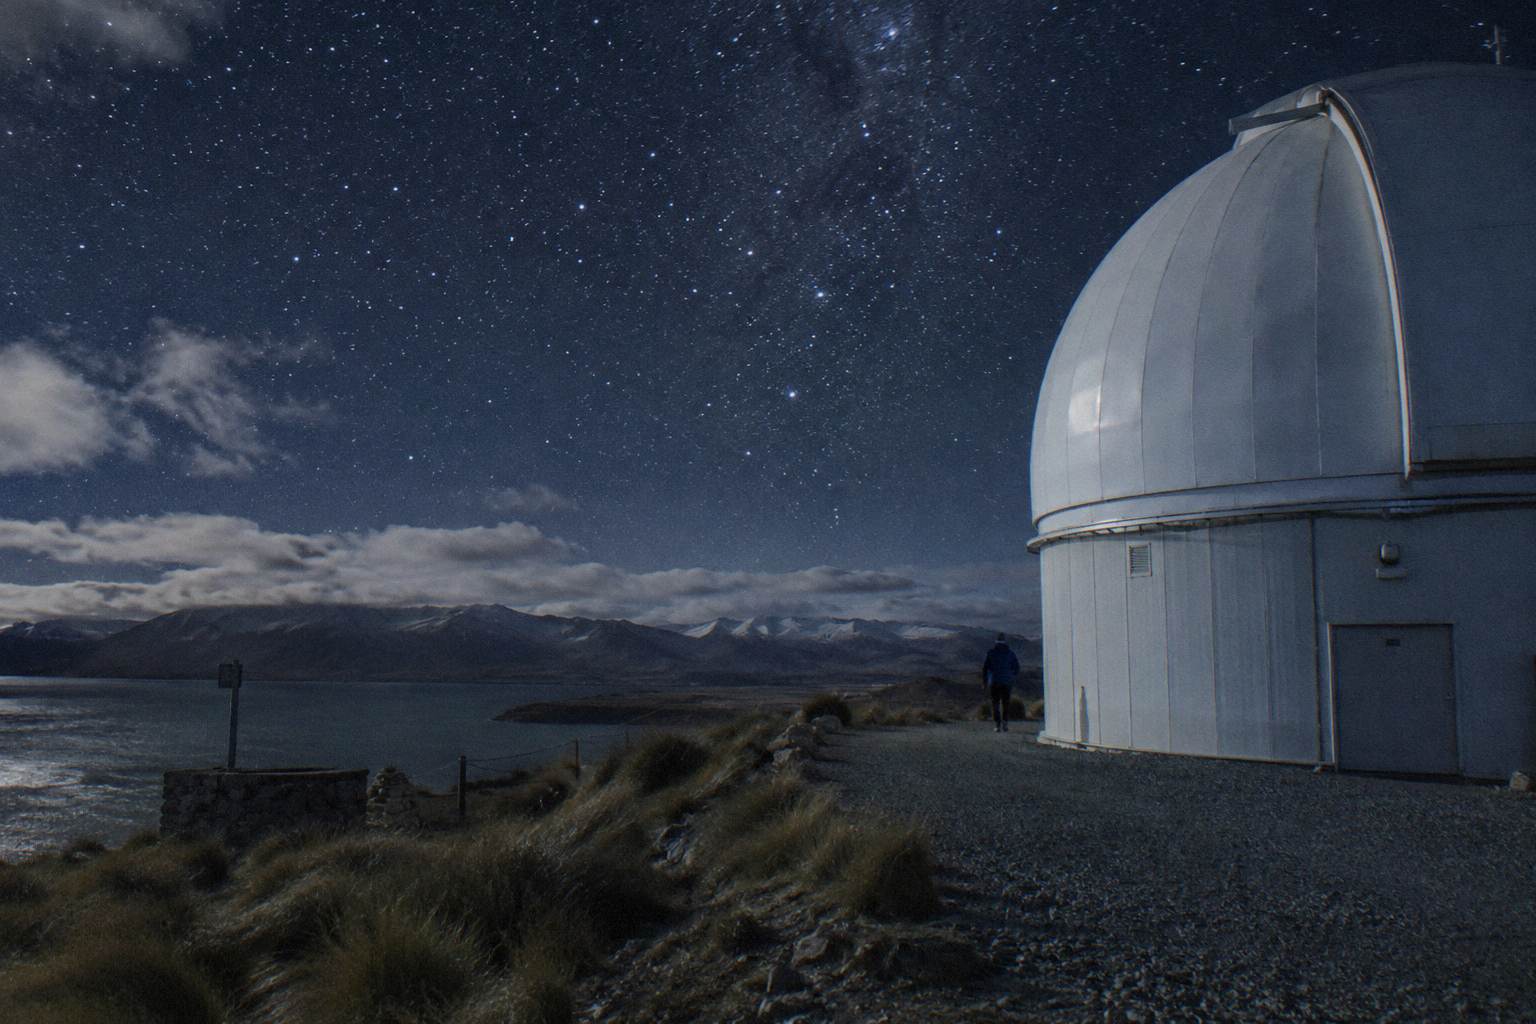
The Mt John Summit Stargazing Experience, rated 4.6 across 352 reviews, includes a 15-minute bus ride to the University of Canterbury Mt John Observatory and the loan of an Extreme Cold Weather jacket, and it asks for moderate fitness with a 100 m gravel incline walk in the dark, all details that tell a photographer to pack light and keep hands free. Operator price is NZD 239 for adults and children alike, minimum age 10.
The Crater Stargazing At Cowan's Observatory option takes 75 minutes including a 5-minute drive from the Dark Sky Project base, with purpose-built observation craters the operator describes as sheltered from wind and light, minimum age 5, operator price NZD 139 adult and NZD 99 child, family pass NZD 377. A sheltered crater is an interesting environment for a camera: less wind on a long exposure, though the sheltering walls also narrow the field of view.
One more planning angle: photography is easiest on a night you do not have to rush, and some visitors split the trip across two evenings, one for a guided tour and one for a solo shoot from a dark roadside. The site's piece on how many nights you need in Tekapo for stargazing makes that case in detail.
How Moonlight And Weather Change Your Settings
Moonlight brightens the sky and lets you drop ISO for cleaner frames of bright targets, while cloud ends star photography outright, so the plan is to check the moon phase first, the forecast second, and to hold the operators' own weather terms in mind: Dark Sky Project cannot guarantee clarity and decides close to tour time, while Tekapo Springs runs in all weather with a VR replacement for telescope viewing under cloud. Those two policies sit at opposite ends of a spectrum, and a photographer should understand both before counting on any particular night. Neither operator promises the sky.
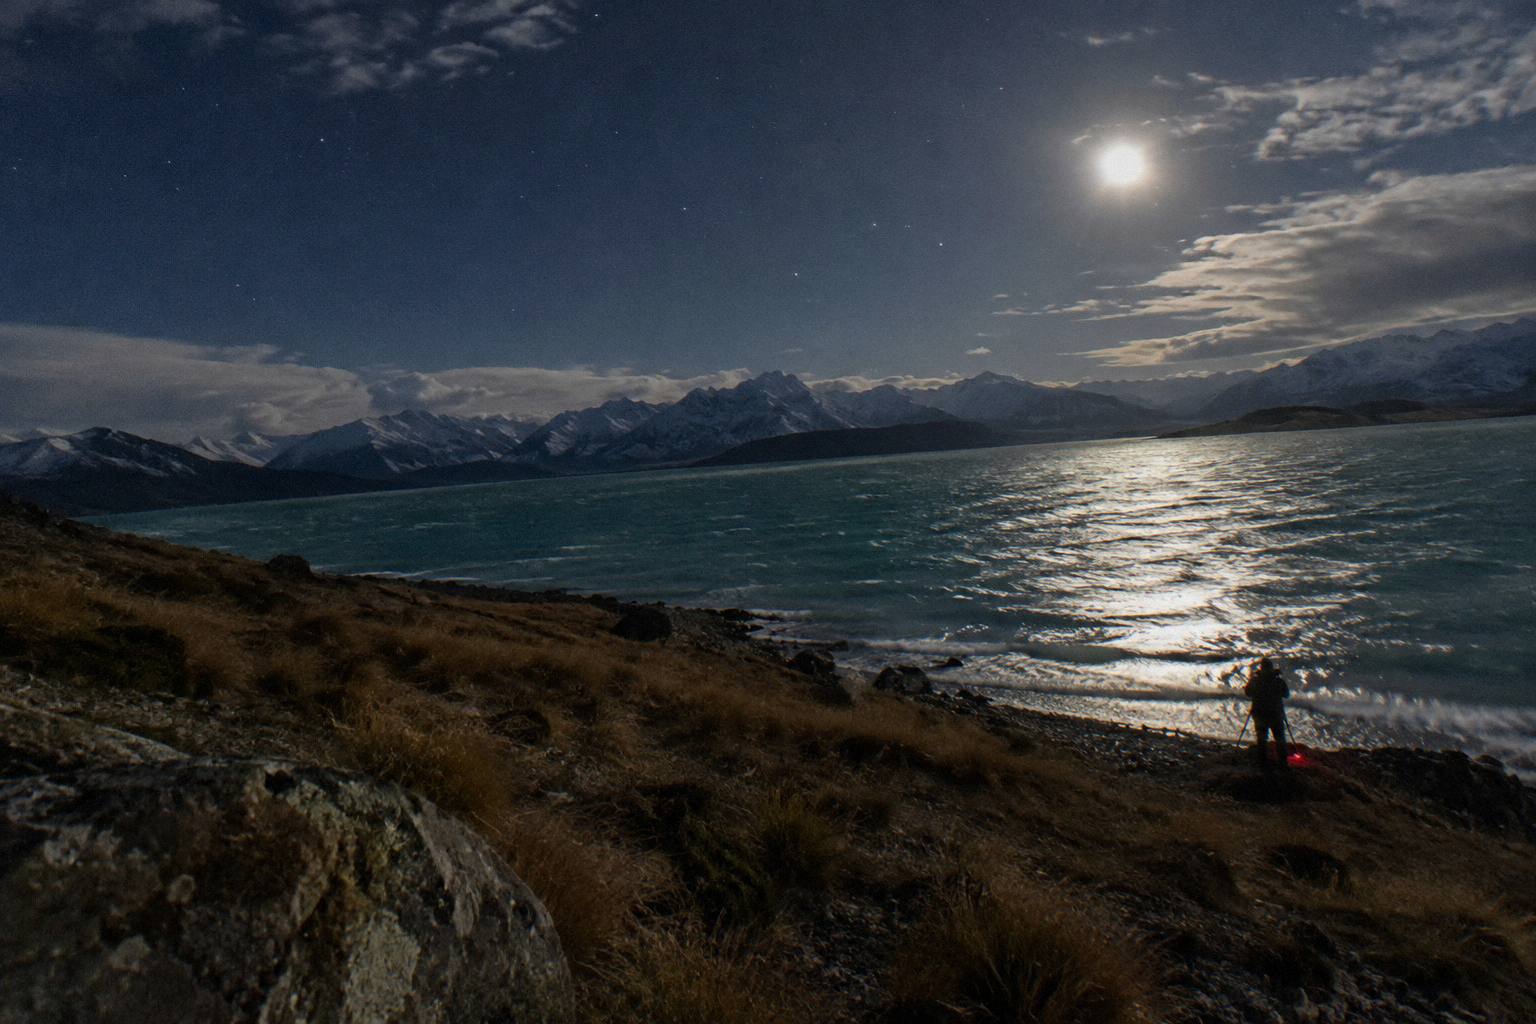
For settings, the moon phase works as a brightness dial. Around a full moon, faint structure such as the Milky Way's band is washed out for naked eye viewing, as Tekapo Stargazing's own FAQ frames it, so the productive targets are the moon itself, bright constellations and the landscape lit by moonlight, all of which reward lower ISO and cleaner files. Around a new moon the sky is at its darkest and sensitivity can be pushed for the faint band, provided the weather holds. The trade is real and personal, and the guide to the best time for stargazing at Lake Tekapo works through it.
Cloud is binary. No setting recovers stars from behind cloud, and the honest move is to have a plan B for the evening. Dark Sky Project's approach, set out on the operator's terms page and its weather page, is that if outdoor stargazing is not possible it offers an indoor alternative or its Virtual Stargazing Experience, a reschedule subject to availability, a gift voucher valid three years, or a full refund, with the decision made as close to tour time as possible and an update at check in 15 minutes before. Direct bookings can be cancelled up to 24 hours before for a full refund.
Tekapo Springs' Soak in the Stars takes the opposite approach to weather: tours run in all conditions, and under cloud a VR indoor experience with 360 degree imagery replaces the telescope viewing, it is not a standalone tour. The operator's FAQ also sets out a viewing guarantee of its own kind: if telescope viewing comes in under 30 minutes, 25 percent is refunded per ticket at the end of the tour, for tours from 18 June 2026. None of that recovers a photography night under cloud, but it does shape what you are paying for when the sky misbehaves.
Cold is the quiet third factor. Nights at elevation, and Mt John sits at 1,029 m, drain batteries faster than the same camera experiences at sea level, and fingers operating small controls lose dexterity well before the camera itself complains. Carry spare batteries in an inside pocket, keep lens caps on until the optics have cooled to ambient to limit fogging, and expect the first minutes after stepping out of a vehicle or warm building to be the least productive of the night. The site's guide on what to wear for Tekapo stargazing covers the clothing side.
| Condition | Effect on settings | Effect on the tour |
|---|---|---|
| Moonless, clear | Push ISO for faint structure | All targets available, nothing guaranteed |
| Bright moon | Drop ISO, shoot the moon and bright constellations | Milky Way reduced for naked eye viewing |
| Cloud | No setting helps | DSP offers indoor alternative, reschedule, voucher or refund |
| Cloud at Tekapo Springs | No setting helps | Tour runs, VR replaces telescope viewing |
| Cold night | Batteries drain faster | Layer up, spare batteries inside a pocket |
Working Through A Shoot: A Step By Step Plan
A productive night follows a fixed order: pick the spot while daylight lasts, set up and focus before full dark, shoot and check test frames zoomed in, adjust one setting at a time, and only then work the scene, with the whole session saved by backing up the files before sleep. The sequence sounds fussy and is not. Almost every failed night sky shoot traces back to skipping one of those steps, most often the focus check or the zoomed inspection of the first frame, and both take under a minute to do properly.
Scouting in daylight is free and pays for itself. Look for a foreground that reads at night, a shoreline, a ridge line, a lone tree, and for a horizon away from the village's lights. Public vantage points around the lake shore work, and the roadside pull offs away from Tekapo's small glow are darker still. Note where the interesting foreground sits relative to the southern sky if constellations are the goal, or relative to the Milky Way's expected band if the galaxy is the subject.
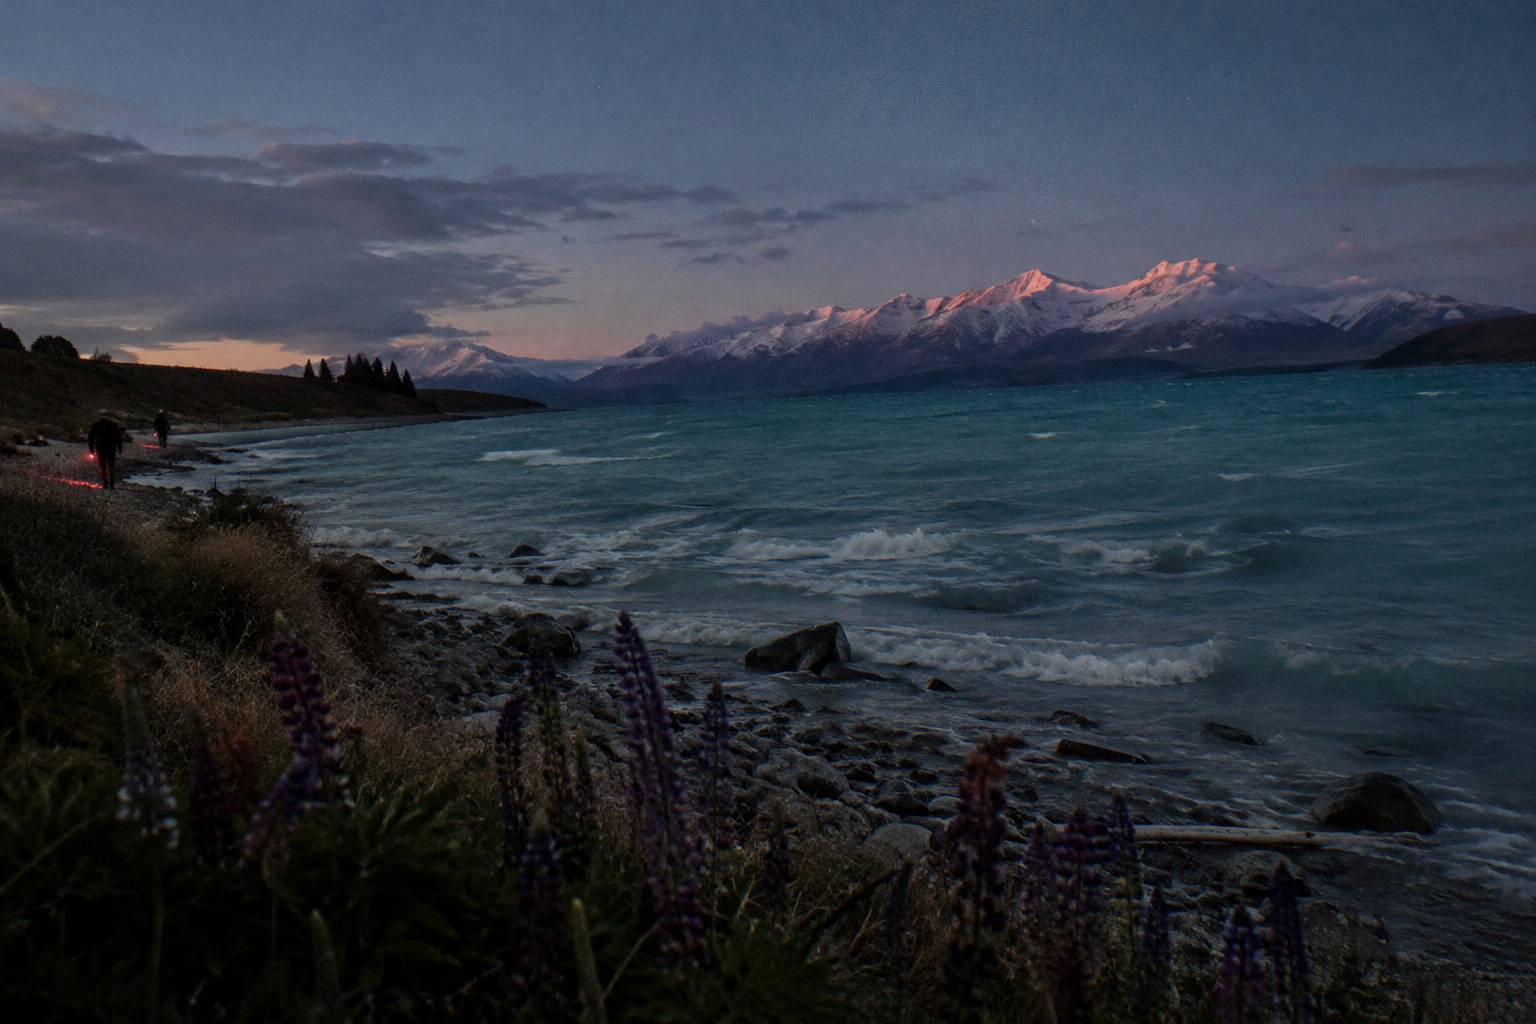
Setup before dark covers the tripod, framing and rough focus. Once the sky is properly dark, refine focus manually on a bright star with the live view zoomed as far as it goes, then tape or lock the focus ring if the camera allows it, because the ring will otherwise drift every time the camera is handled. Take the test frame, inspect it zoomed in, and only then start changing exposure values, one at a time, so you always know which change produced which result.
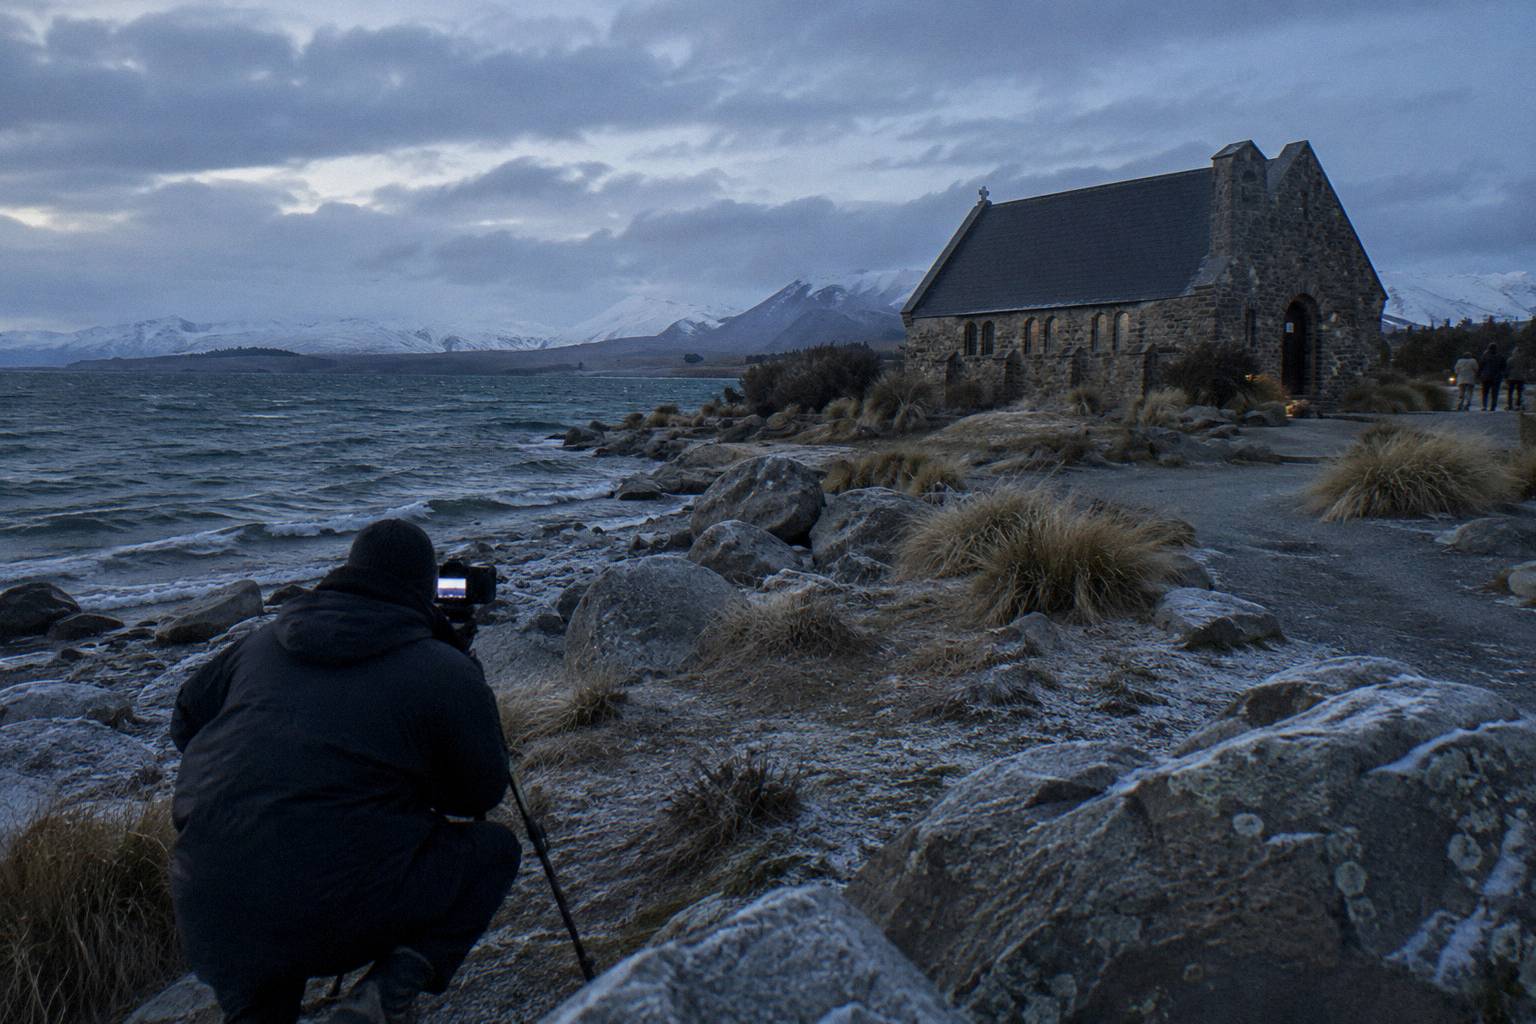
During the shoot, discipline beats volume. Work a small number of compositions properly rather than spraying frames across the whole sky, revisit the best composition as the sky rotates, since the stars move and a composition that failed at the start may work an hour later, and keep a mental note of the settings that produced the frame you like. If the night is a tour night rather than a solo night, the plan compresses: one preset, one or two opportunities, and the willingness to put the camera away and just look.
The finish matters too. Cold batteries read as emptier than they are, so warm a dead seeming battery before believing it. Back the files up before sleeping, because a night like the reserve's is not always repeatable on a tight itinerary, and the morning you fly out is not the morning to discover a card error. The site's deeper treatment of shooting with a guide, the Tekapo astrophotography tours guide, extends this plan into tours built around cameras.
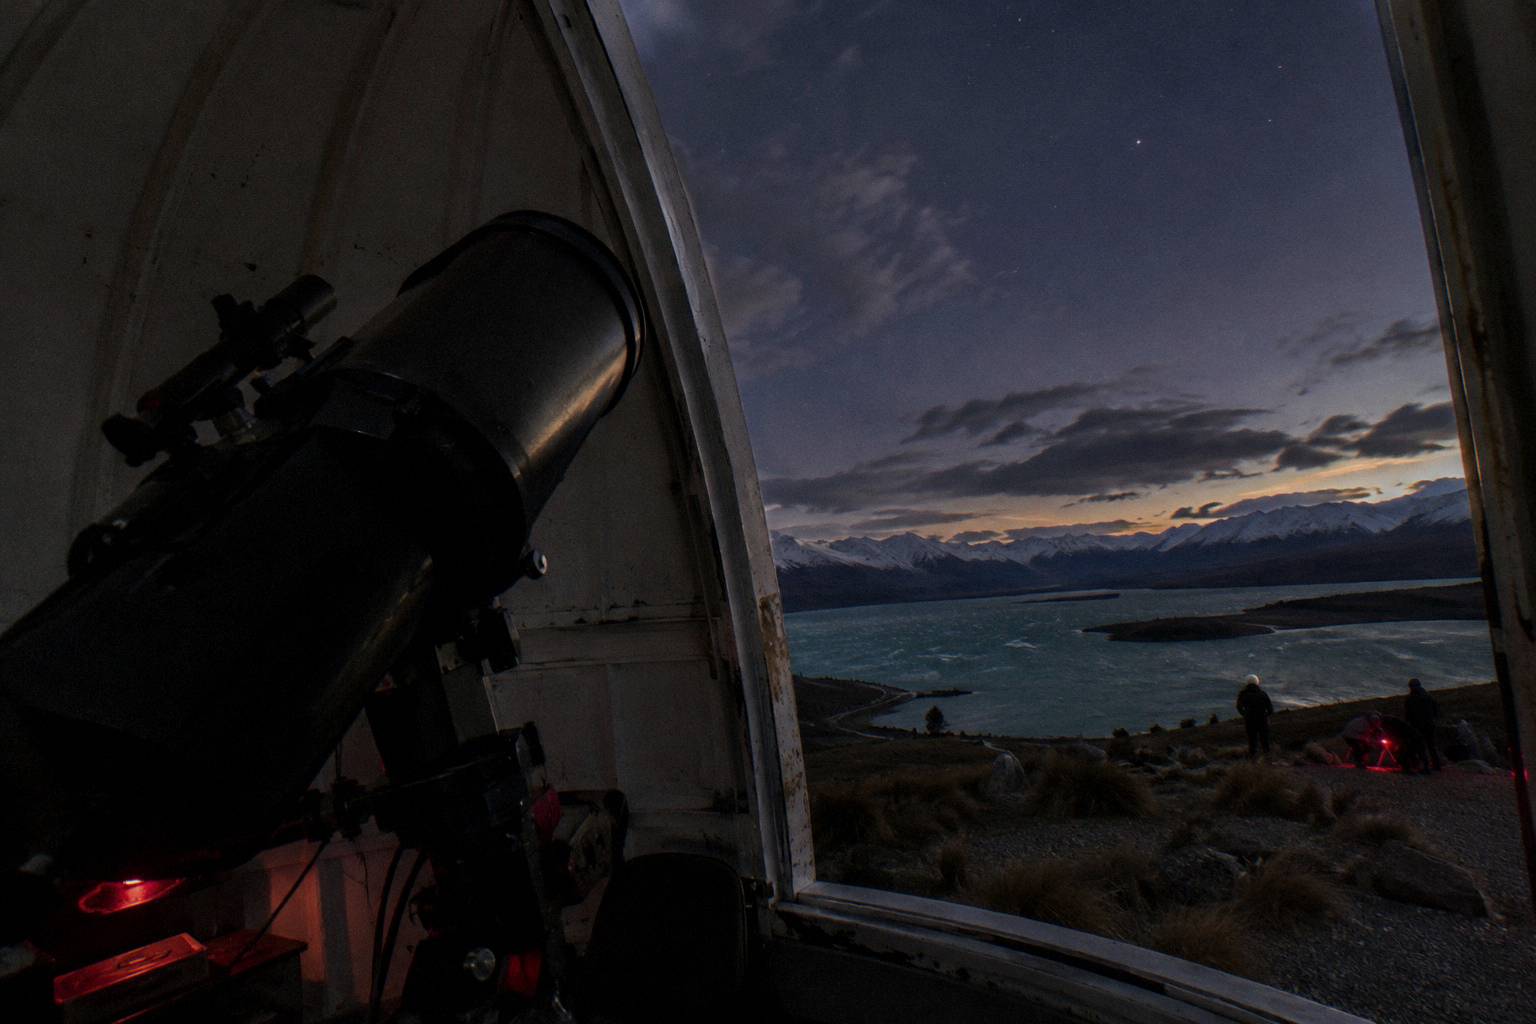
Common Mistakes When Photographing The Tekapo Night Sky
The recurring mistakes are trusting autofocus on stars, shooting handheld, changing several settings at once so no lesson survives the night, leaving the flash on, packing no spare battery for the cold, and assuming the tour night will double as an unrestricted photo shoot without asking the operator first. Each one is avoidable with a decision made before departure rather than on the night. None requires better gear, which is the encouraging part: the gap between a frustrating night and a frame you keep is almost always procedure, not equipment.
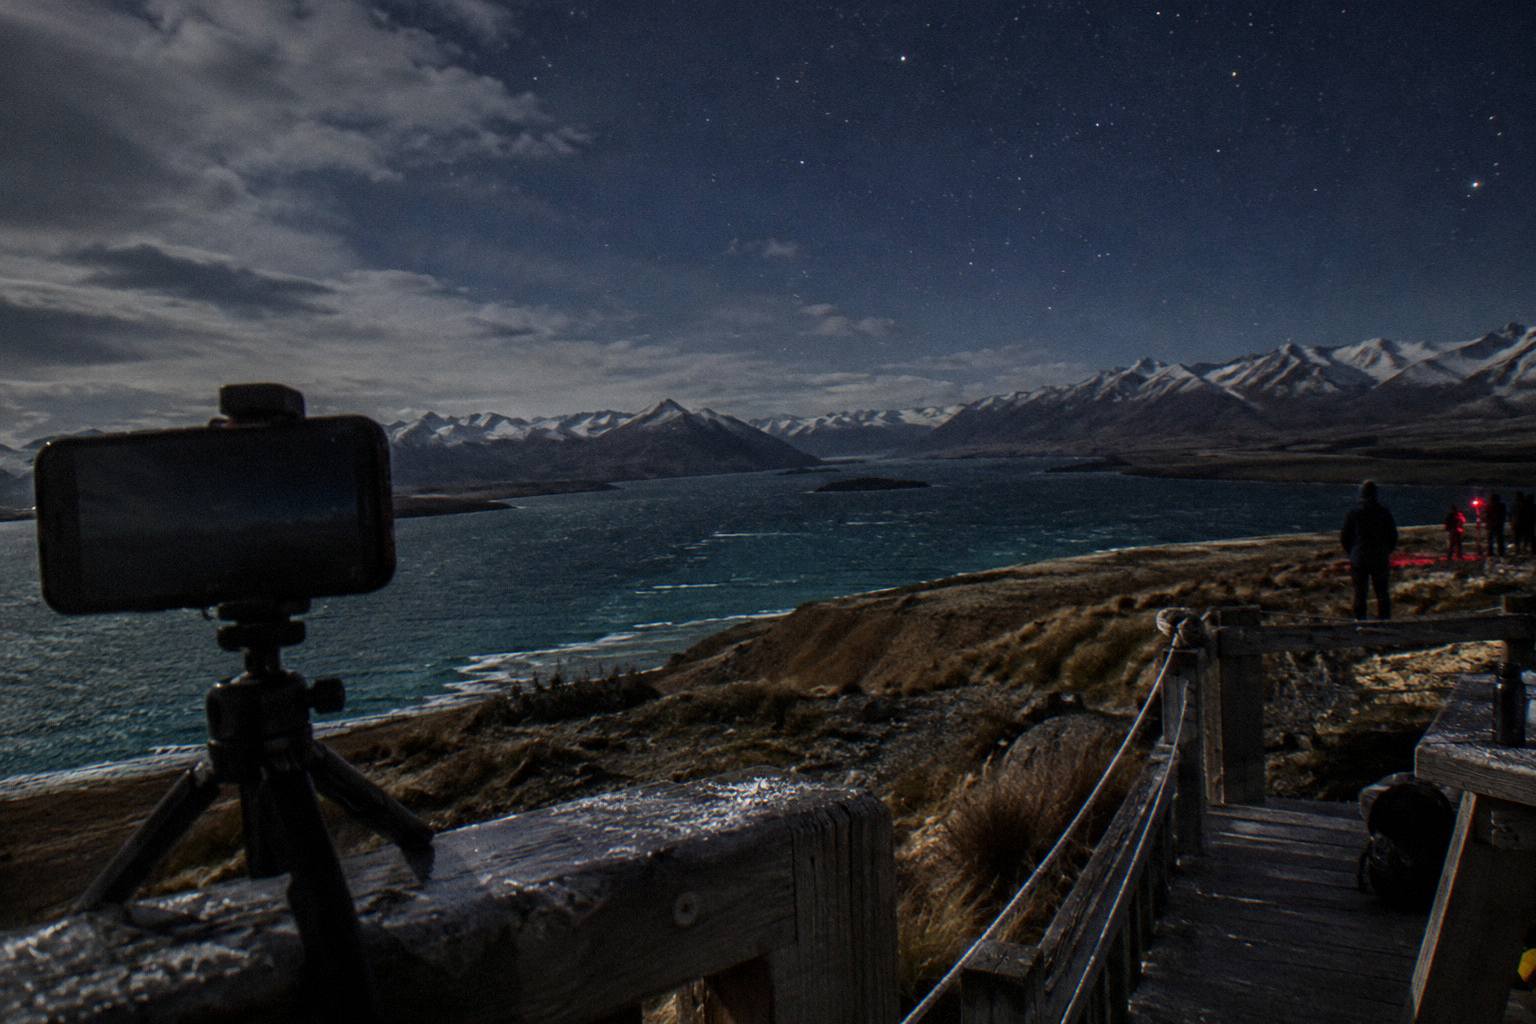
The focus mistake is the most common and the least noticed at the time. The camera's screen is small, the stars are dim, and a frame that is softly focused still looks plausible at preview size, only to dissolve when viewed later at full size. The countermeasure is built into the step by step plan above: manual focus, live view zoomed fully in on one bright star, and a zoomed inspection of the first captured frame before anything else happens. It costs a minute.
The tour assumption mistake deserves its own warning because it costs money. Booking a guided night with a full camera kit and then learning that the format does not suit tripods, or that the timing leaves no free shooting window, is avoidable with one phone call or email before booking. Camera policy is not stated on the operators' pages for the tours covered here, so ask: Dark Sky Project at info@darkskyproject.co.nz, Tekapo Springs at bookings@tekapostargazing.co.nz. State what you want to bring and how you like to shoot, and book the format that answers well.
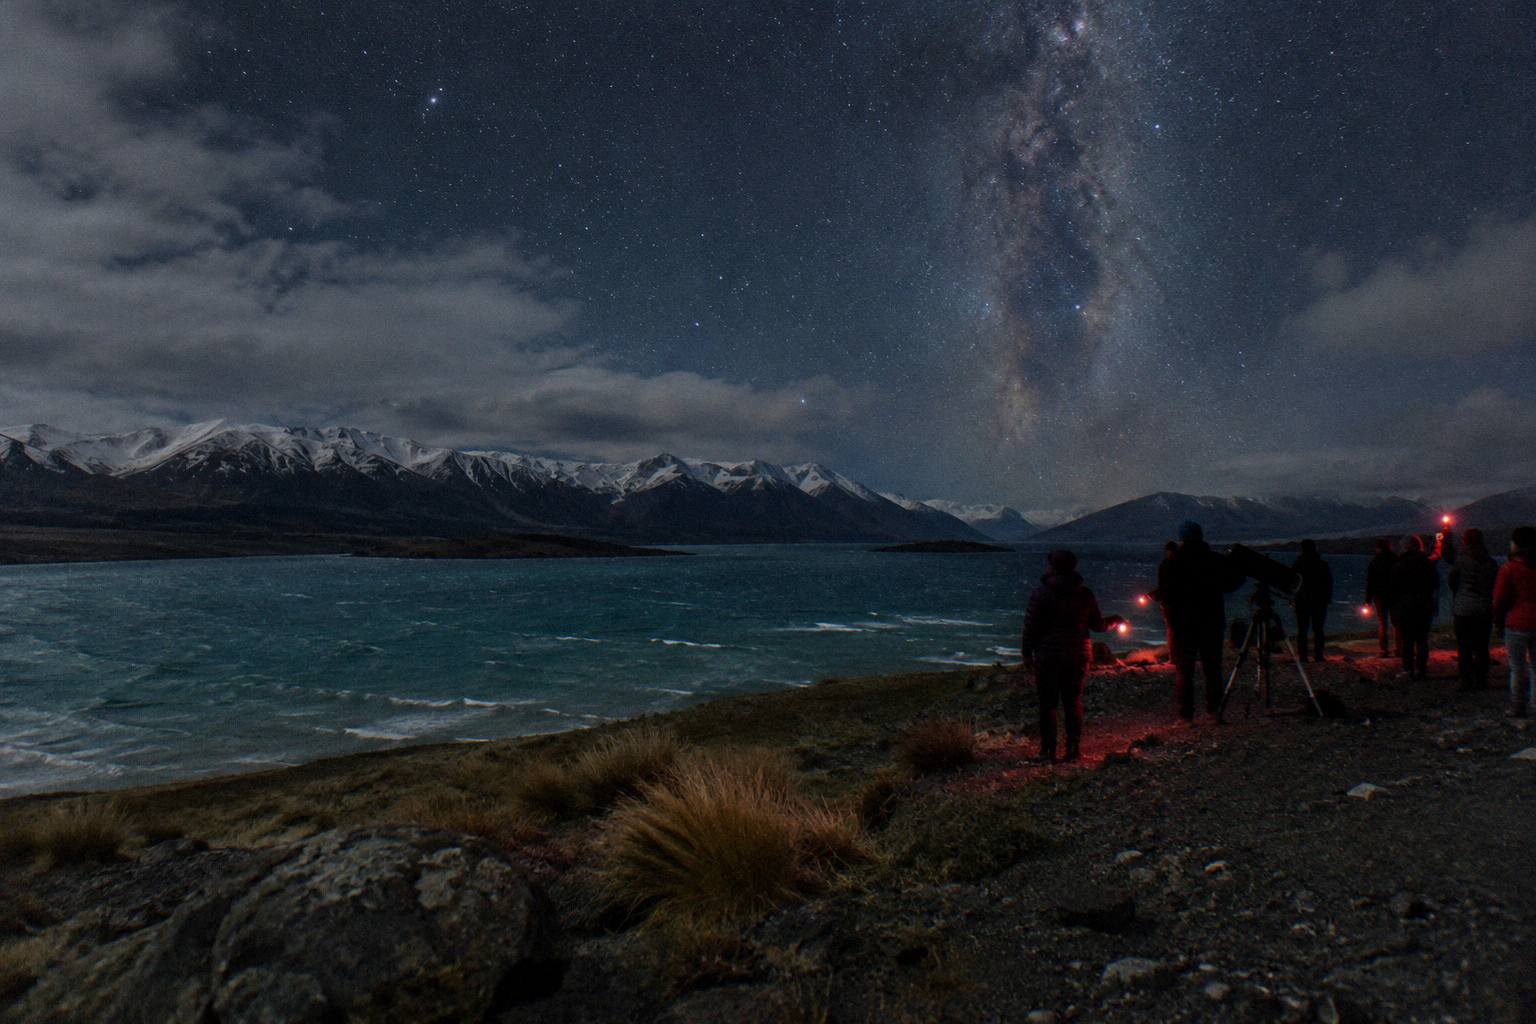
The weather mistake is subtler: planning settings for a perfect sky. The operators themselves frame the sky as not guaranteed, Dark Sky Project explicitly and Tekapo Springs through its cloud replacement and partial refund policy, and a photographer should hold the same humility. Plan the moon phase, plan the composition, and treat clear sky as the variable it is. Many visitors hedge by leaving a second night unbooked, which the post on how many nights in Tekapo for stargazing argues is the single biggest improver of a stargazing trip's odds.
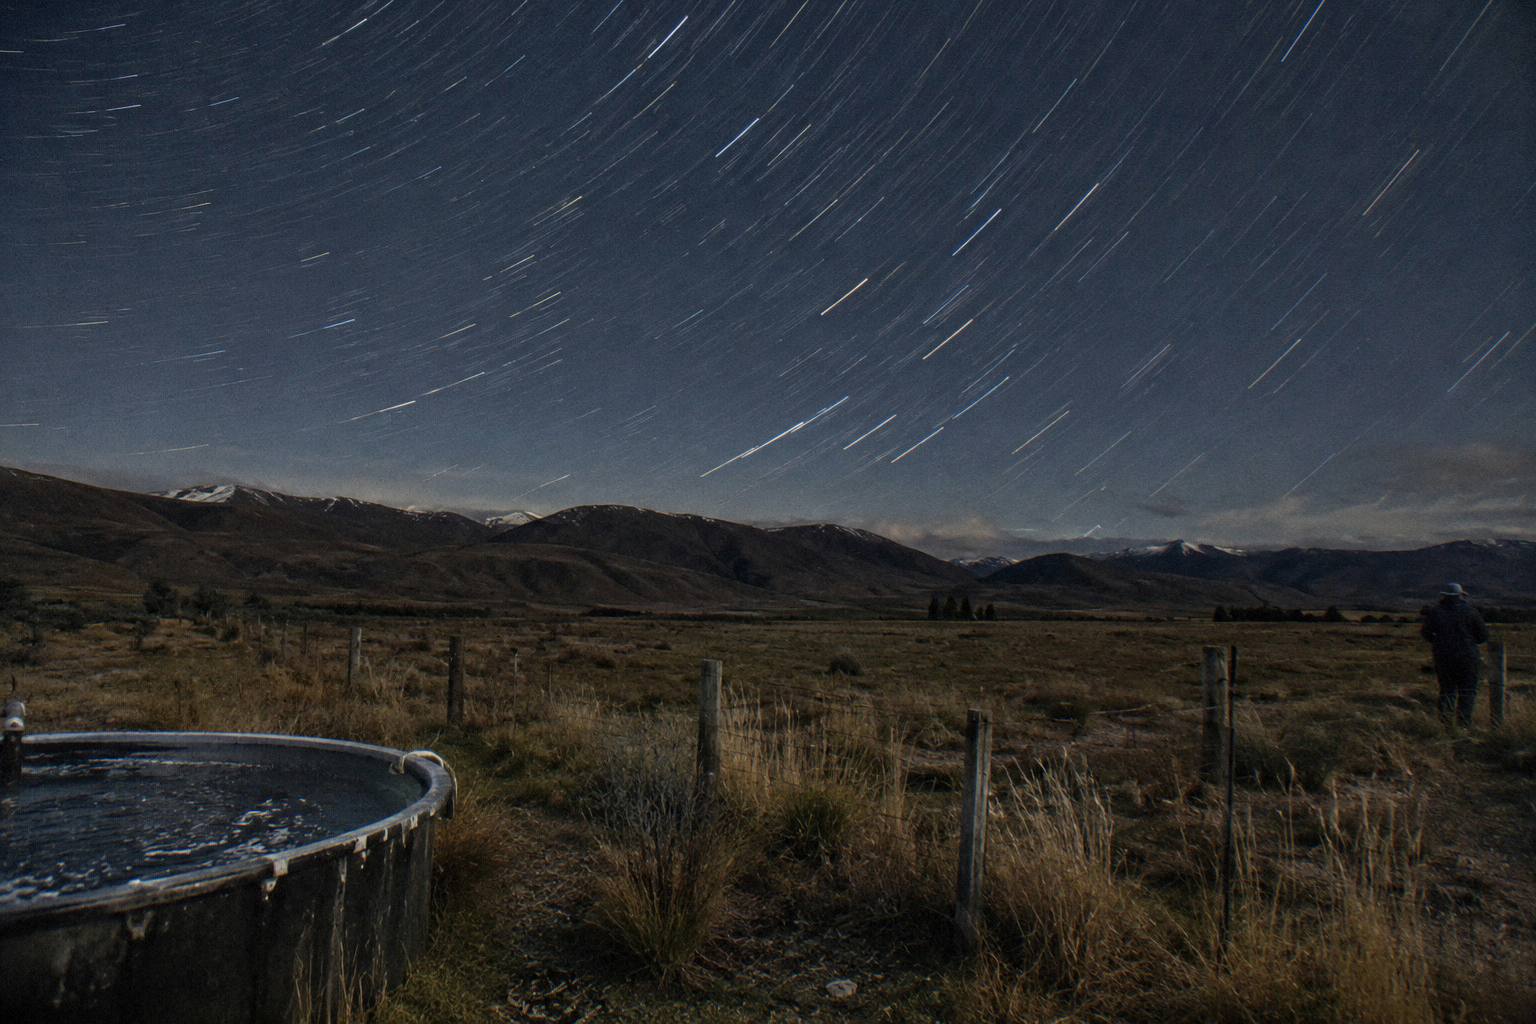
Which Settings Matter Most On A Tour Night Versus A Solo Night
On a guided tour night the settings that matter are speed of deployment: one saved preset, the phone or a small camera already configured, focus pre set, and a readiness to work in short windows between guide moments; on a solo night the settings that matter are precision: careful focus, tested shutter speed, bracketed ISO and time to wait for the sky. The two nights reward different preparation, and travellers who get both out of one trip tend to treat the tour as the experience and the solo session as the shoot.
On a tour, the constraint is time and shared space, not light. The sky is the same sky, but you are one of a group, the guide's pacing sets the rhythm, and the productive windows are the pauses. A saved preset means the camera is ready the moment a pause opens. Manual focus set before boarding or walking out survives the whole night, since the focus distance for stars does not change. What does not work on a tour night is a settings hunt: by the time the sliders are right, the window has closed.
On a solo night the constraint is patience and comfort. There is time to test, to zoom in, to wait for cloud to clear a horizon, and to shoot a foreground under moonlight and the sky later in darkness, combining frames afterwards if that suits your editing. Cold management becomes the real limit on endurance, and the operators' own clothing cues are a good benchmark: Dark Sky Project loans Extreme Cold Weather jackets on its Summit Experience, which tells you plainly what a night at 1,029 m demands even of people standing still for under two hours.
Whichever night you shoot, the settings logic in this guide is the same, and that is the point of separating the principles from the numbers. Aperture, shutter, ISO and focus trade against each other identically on a phone by the lake shore and a camera on a crater's rim; what changes is how much room you have to work the trade. Reserve status, awarded in April 2012 across Aoraki/Mt Cook National Park and the Mackenzie Basin, is what makes both nights worth the effort. Mt John Stargazing covers the touring side of that sky across the rest of the site, from the summit observatory to the Mackenzie Basin's darker corners.
Common Questions About Tekapo Night Sky Photography
What Settings Work For Night Sky Photos In Tekapo?
Manual or pro mode, the widest aperture available, a shutter speed short enough to keep stars as points, ISO raised until the exposure works, manual focus just short of infinity, no flash, and a stable support. The exact values depend on your lens, the moon and the conditions, so test one frame, zoom in, and adjust one setting at a time.
Can You Photograph The Stars On A Phone In Tekapo?
Yes. Use the phone's manual, pro or night mode, brace it on a small tripod or a rigid surface, lock focus on a bright star, turn the flash off, and let the night mode's stacking do the heavy lifting. The reserve's genuinely dark sky gives any sensor more to work with than a city sky ever would.
Do The Tekapo Stargazing Tours Allow Cameras And Tripods?
Camera and tripod policy is not stated on the operators' pages for the tours covered here, so ask before booking: Dark Sky Project on +64 3 680 6960 or info@darkskyproject.co.nz, and Tekapo Springs on +64 3 680 6550 or bookings@tekapostargazing.co.nz. A phone fits almost any format; a tripod and a bag of lenses may not.
Does A Full Moon Ruin Night Sky Photography In Tekapo?
No, it changes it. Tekapo Stargazing says telescopes still show bright objects and a full moon only reduces the naked eye view of the Milky Way, and Dark Sky Project notes brighter moonlight affects fainter stars and galaxies while calling the moon a good target itself. Around a full moon, shoot the moon and bright constellations at lower ISO; save high sensitivity Milky Way frames for the darker nights.
What Happens To My Photo Plans If It Is Cloudy?
No setting recovers stars from behind cloud. Dark Sky Project cannot guarantee clarity, decides as close to tour time as possible, and offers an indoor alternative, a reschedule, a voucher valid three years or a full refund if outdoor stargazing is not possible. Tekapo Springs tours run in all weather, with a VR indoor experience replacing telescope viewing under cloud.
How Cold Does It Get, And Does That Affect The Camera?
The operators' own provisions answer indirectly: Dark Sky Project loans Extreme Cold Weather jackets on the Mt John summit at 1,029 m, and the site's guide to how cold it gets at Mount John at night covers the figures. For the camera, carry spare batteries in an inside pocket, keep the gear warm until you shoot, and expect lens fogging when moving between warm and cold air.